First we will install the AirWatch Cloud Connector (ACC) by enabling it in the AirWatch Admin Console and then we download and run the installer file onto the server that will host the service.
Installing the AirWatch Cloud Connector (ACC) includes the following tasks:
- Enable the ACC in the AirWatch Admin Console
- Generate the certificate that will be used for communication between the ACC and the AirWatch environment.
- Configure the ACC with the services we will be using.
- Download the ACC installer and install it.
- Verify that the installation was successful, and that communications pass between the AirWatch SaaS to the ACC, and the ACC to the AirWatch SaaS.

First step is to enable the AirWatch Cloud Connector (ACC) in the AirWatch Admin console.
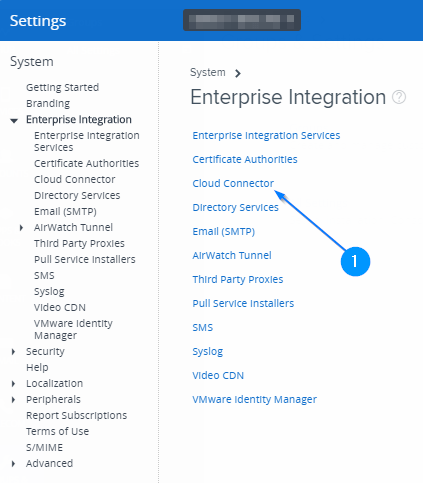
- Navigate to Groups & Settings ► All Settings ► System ► Enterprise Integration ► Cloud Connector.

► Enterprise Integration ► Cloud Connector.
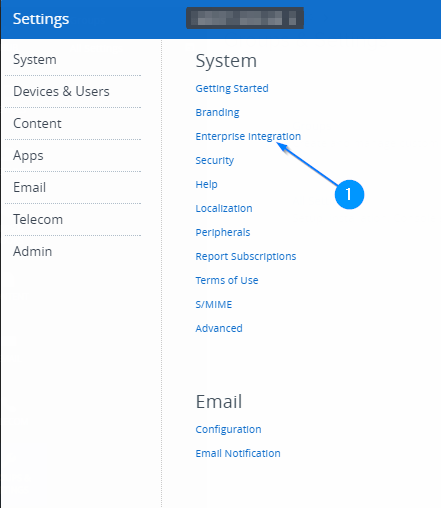
► Cloud Connector.
Next up we are going to enable the AirWatch Cloud Connector, before we download and install it.
First we ensure that we are not inheriting the settings, as we wish to set up ACC. So we make sure that settings are on “Override”
In this environment, since it is a SaaS and we do not want a mismatch between the environment in the cloud, and the ACC on the inside of our network, we enable “Auto Update“.
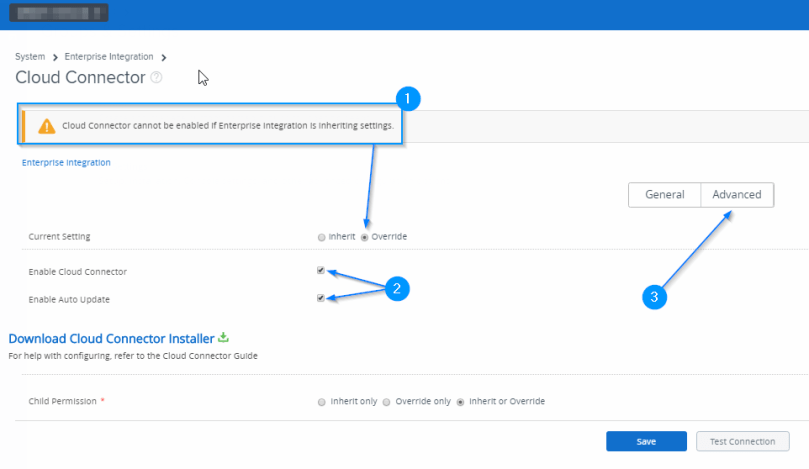
Now we move onto the “Advanced“-tab for further configuration.
PS: SaaS customers do not need to download the Secure Channel Certificate installer.
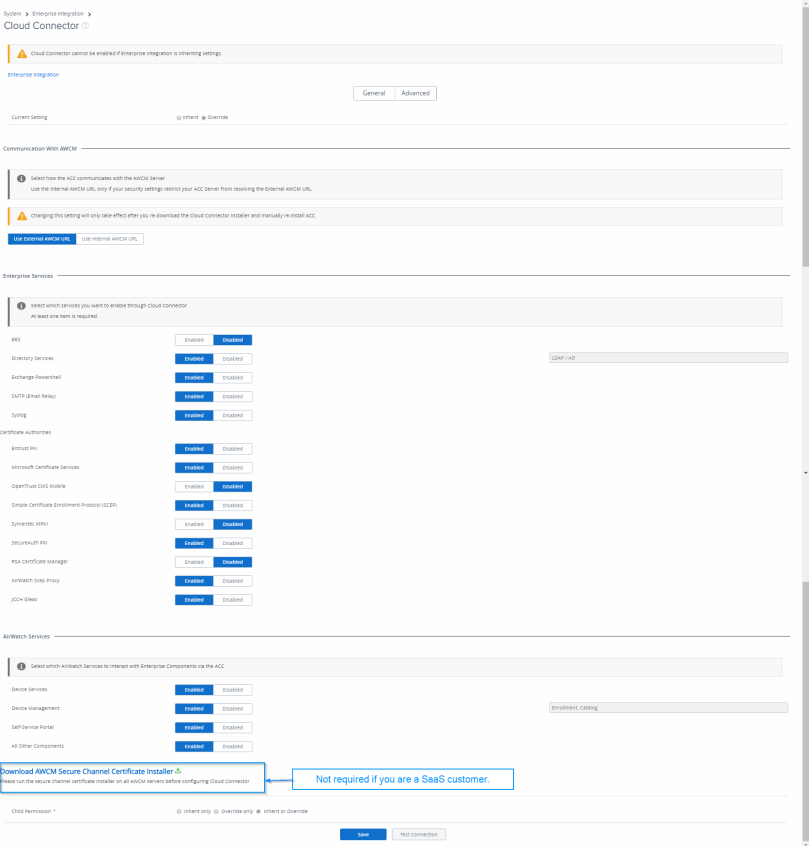
We disabled BES (Blackberry Enterprise Services), and Certificate Authorities that we will not be using. Now we save the settings set how we want it to be and go back to the “General“-tab within the “Cloud Connector“-selection.
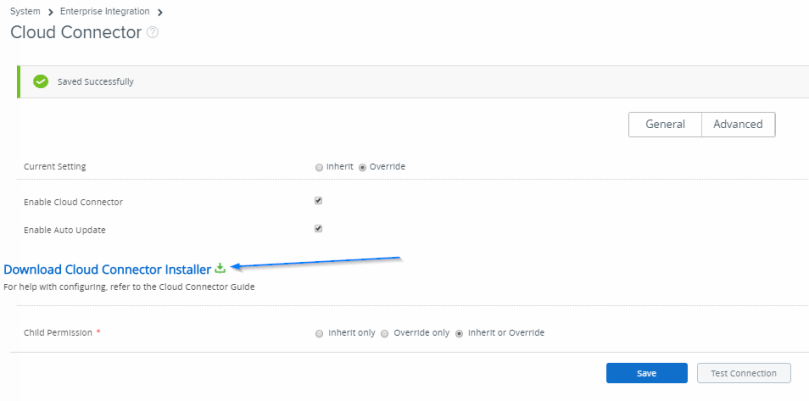
Choose “Download Cloud Connector Installer” and this window will open within the console:

Here you need to set a “Certificate Password”. We will be prompted for this password later when we install it on the server set to be used for the ACC-installation. I recommend using a password generator. I prefer to use the Identity Safe Password Generator from Norton by Symantec: here
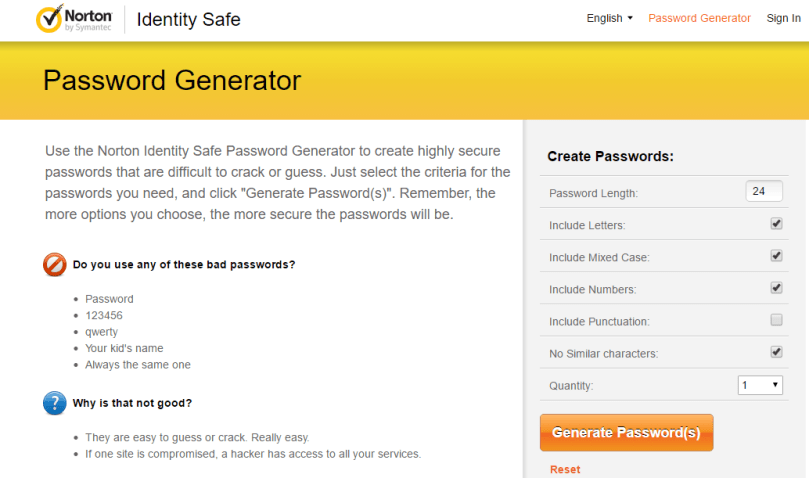
When we are happy with our selection for complexity, we hit “Generate Password(s)“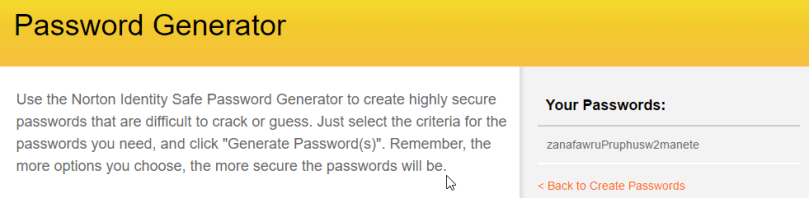
And we feed that in here:

(Store the password somewhere temporarily, as we will be using this to start the installation)
Scroll to the bottom of that window and hit “ ”
”
You now have your Cloud Connector xx.xx.exe ready to be installed on your server.

I’ve made a folder structure on the server that has been set up to be a dedicated AirWatch Cloud Connector-server.
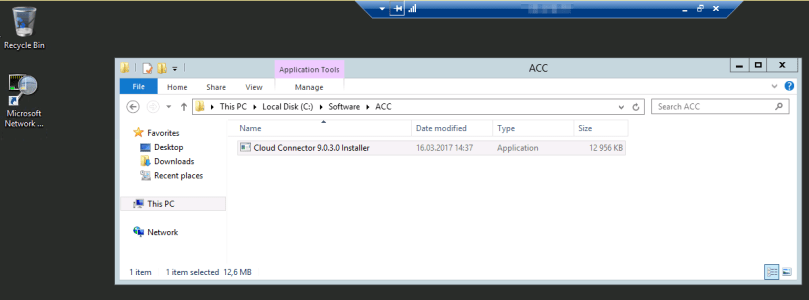
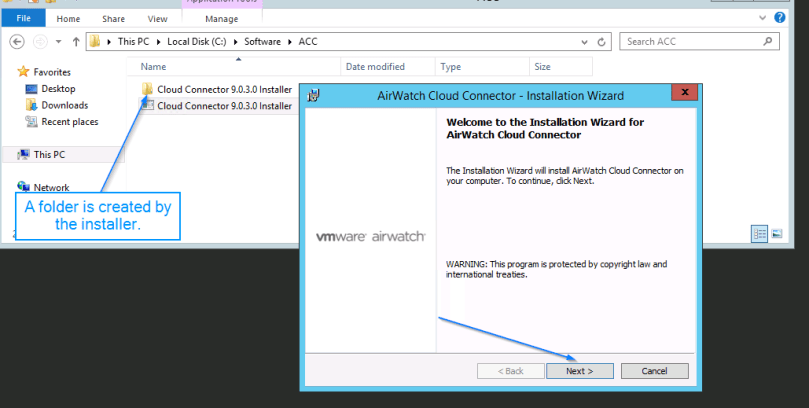
PS: Starting the installer “Cloud Connector x.x.x.x Installer” creates a folder with the following content:

AirWatch_9.0_ACC_Installer contains logs about the installation.
AdaConfig.xml has the pointers and the information to what group and SaaS tenant the installation will point against, as well as the certificate chain e.g.: 
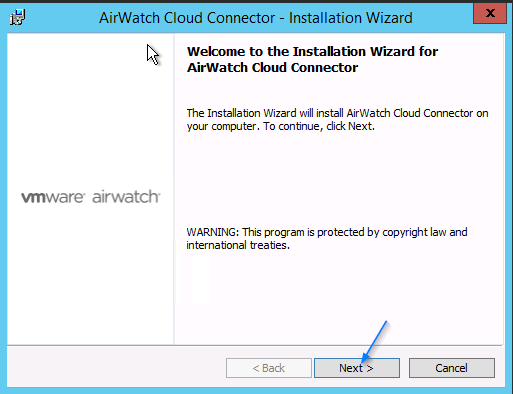
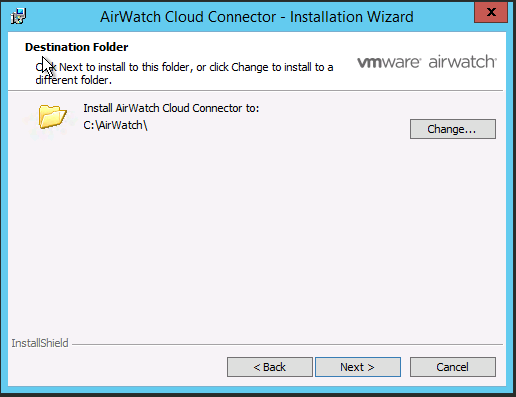
Choose “Next” -> Set the path for your installation
Now comes the ACC certificate password. Here you need to enter what we typed upon generating the AirWatch Cloud Connector Installer in the AirWatch-console.

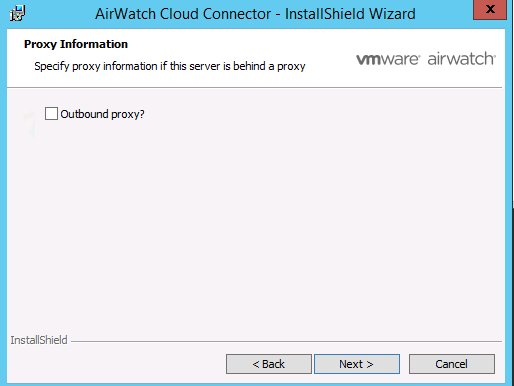
Hit “Next” unless you are configuring an “Outbound proxy?”
And hit “Install”
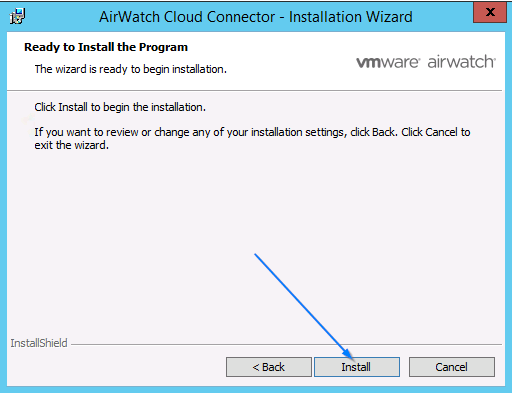
It’ll now run through the installer, and give you a log at the end.

Now, we need to ensure that the Cloud Connector is working.
To check if it’s got contact with your SaaS tenant we’ll go back to the AirWatch Admin console:
Navigate to Groups & Settings ► All Settings ► System ► Enterprise Integration ► Cloud Connector.
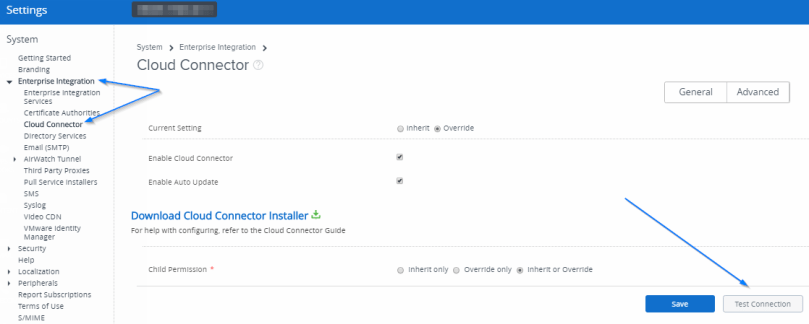
And hit “Test Connection”

We can now use the installed ACC, to integrate with our directory services.
Food for thought:
If you “Regenerate Certificates” it will invalidate the certificate installed on your current ACC. Meaning that you will have to install the ACC from scratch again. Worry not, this is just as straight forward as the first time, but important to keep in mind.

If you have any suggestions for articles you’d like to see, hit me up!
