In this article I’ll walk you through the steps needed to connecting to your Microsoft Azure environment, as well as giving you a glimpse of how you can manage it by starting up a IaaS virtual machine.
There is endless potential, to what you can manage and automate of Azure resources with PowerShell, but from here to there, first step is connecting it!

Installing Azure PowerShell Module
First off we are going to install the Azure PowerShell module

Connecting to your Azure Subscription

When you open up your Microsoft Azure PowerShell, you’ll get this lovely bluebox and here we will type
Add-AzureAccount or Login-AzureRMAccount
Which prompts us to load which we accept with a “Y/N” (y to proceed)
This will bring up a login page asking you to input your account that has an active Azure subscription attached.
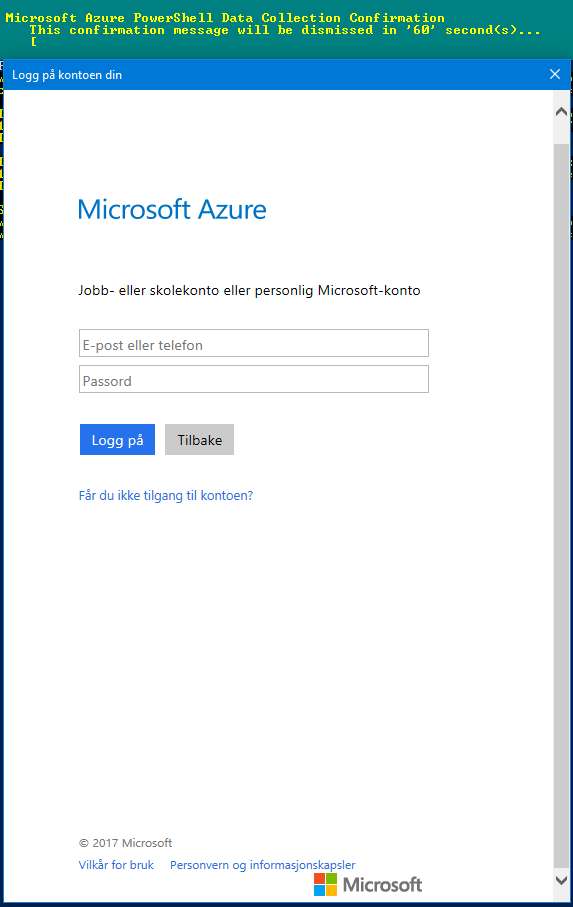
Input credentials that can manage your Azure subscription in the login that was prompted by the Microsoft Azure PoweShell.
If successful, you should see an output showing you ID, type, Subscriptions and tenant information.

You are now ready to start exploring, and you can add multiple subscriptions by using this method.
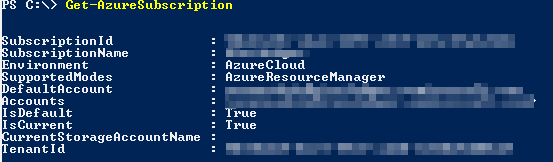
If you want to get your subscription info later, you can get them by typing:
Get-AzureSubscription
This will show you all Azure subscriptions that you have setup with PowerShell.
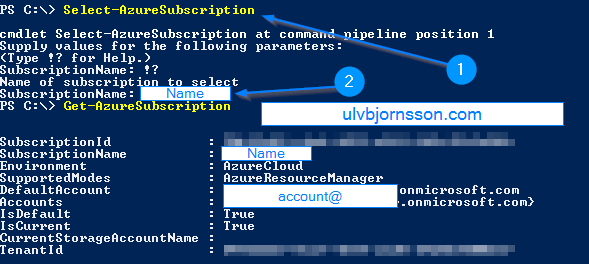
You might as I do, have more than one Azure subscription that you’d like to manage through PowerShell and out of those there might be one that you are currently working on, and that you’d like to be the the “current” one as well as what is “default”
To use this cmdlet, you will specify the SubscriptionName and pass the name of the subscription that was retrieved with Get-AzureSubscription.
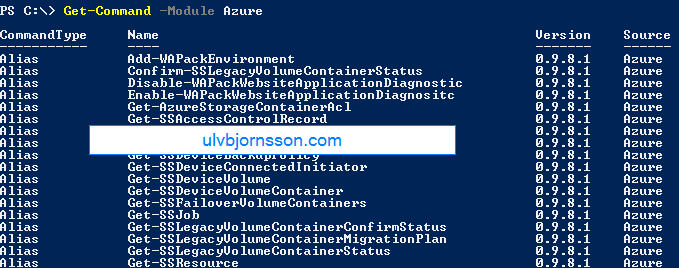
Now, rule of thumb when using PowerShell and getting used to a new module is running
Get-Command –Module Azure
This allows you to easily explore what cmdlets is available to you in a module. Allowing you to see what is possible.

Starting a Azure Infrastructure-as-a-Service Virtual Machine
Some of the most used commonly used Azure resources is its Infrastructure-as-a-service (IaaS) resources. So the example I will be providing here is how to start and stop (deallocate) a IaaS VM.
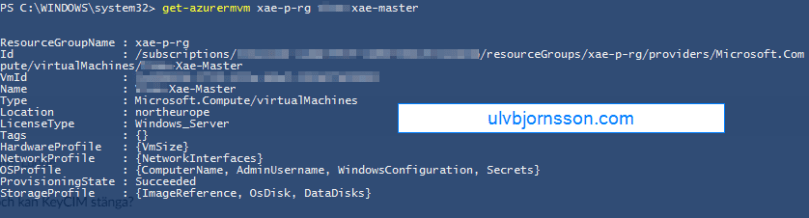
Now to accomplish this you will type in
Get-AzureVM / Get-AzureRMVM
Tip:
Get-AzureVM – To fetch classic instances
Get-AzureRmVM – To fetch ARM instances.
Did you this error? If so, check out this troubleshooting article
Get-AzureVM : ForbiddenError: The server failed to authenticate the request. Verify that the certificate is valid and i
s associated with this subscription.
At line:1 char:1
+ Get-AzureVM
+ ~~~~~~~~~~~
+ CategoryInfo : CloseError: (:) [Get-AzureVM], ComputeCloudException
+ FullyQualifiedErrorId : Microsoft.WindowsAzure.Commands.ServiceManagement.IaaS.GetAzureVMCommand
If you got a normal output:

We can then go after the specific VM we want to manage.
So we start up the one we want to start by inputting the command below, modify for your resource group and Virtual Machine:
Start-AzureRmVM -esourceGroupName“xae-p-rg“ -Name “ttt-xae-master“
Start-AzureRmVM -ResourceGroupName “ResourceGroupUlv“ -Name “VirtualMachine01″

and when it’s done it gives us a status: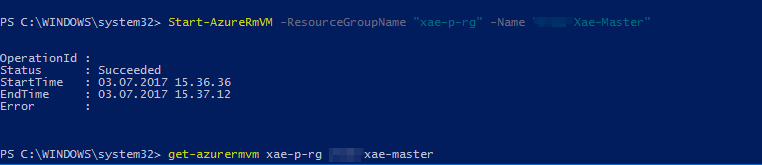
You’ve now started up your VM via Powershell for Azure.
To turn it off you can run
Stop-AzureRmVM -ResourceGroupName “xae-p-rg” -Name “t-Xae-Master”
Stop-AzureRmVM -ResourceGroupName “ResourceGroupUlv“ -Name “VirtualMachine01“
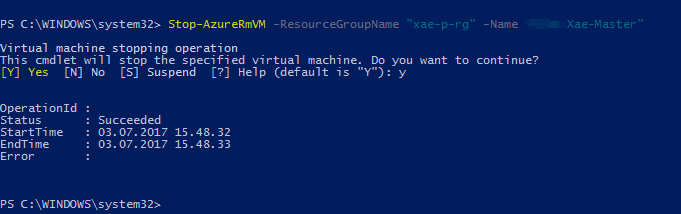
and it’s now stopped and deallocated.
This is only scratching the surface of what is possible, list commands check out tutorials, browse technet for the variables and soon enough you’ll find yourself building and  automating the many mundane tasks giving you more time to do the super-duper awesome stuff!
As always, you can follow me on Twitter at @UlvBjornsson or follow me on here, if you have tips for articles you’d like to read or topics you want to hear more about, hit me up!

[…] and then you can execute any Azure PowerShell commands that you’d like to run. For a more detailed walkthrough check my article on connecting and managing Microsoft Azure via PowerShell. […]
LikeLike