Hi again, and now we’ll go through how you install a VMware Identity Manager Connector.
First off with the prerequisites and some data you need to have to proceed through this guide:
You will need:
- VMware Identity Manager-tenant
- OVA-file (the VMware Identity Manager Connector software)
- Set up a DNS record
- Service Accounts: for binding to LDAP and domain joining the Connector
- Connector activation code (which we gather from our VMware Identity Manager-tenant)
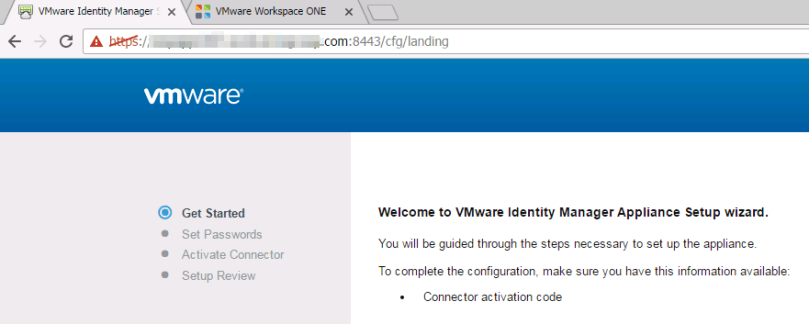
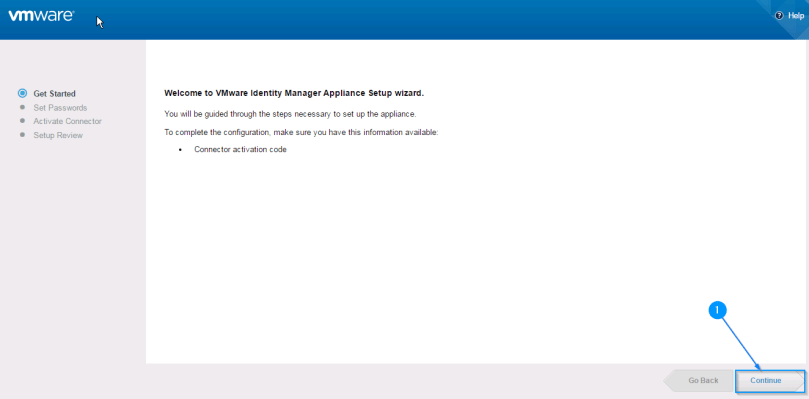
Now, if you are starting up your VM with the OVA-file installed you’ll be navigating to the DNS record you configured: https://XXXXXXX.domain.com:8443/cfg/landing
- Open up your browser, and type in the web-address to the VIM-connector.
- Log in to your VMware Identity Manager-tenant and go to “Identity & Access Management” and choose “View Activation Code” and copy out the “Connector Activation Code“
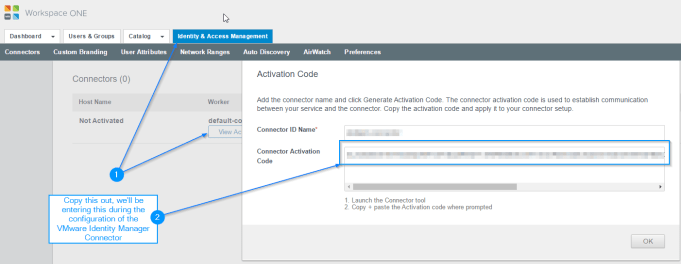
- Now that we have the activation code, we can continue configuration
- Now we need to set the password on:Appliance Administrator Account
(Enter the password for Appliance Administrator Account (admin). Login as “admin” to manage appliance settings. Password length must be at least 6 characters.)Appliance Root Account
(Change the VMware default “root” user password that gives full rights to the appliance.)Remote User Account
(Enter the password that is used to log in to the appliance with an SSH connection.)
- Paste in the code that we got from our VMware Identity Manager-tenant.

- Hit “Continue”

- Setup is now complete.
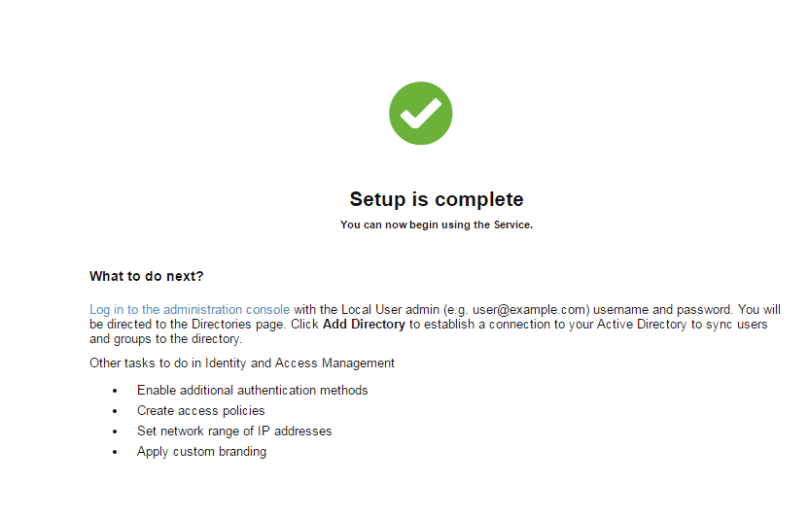
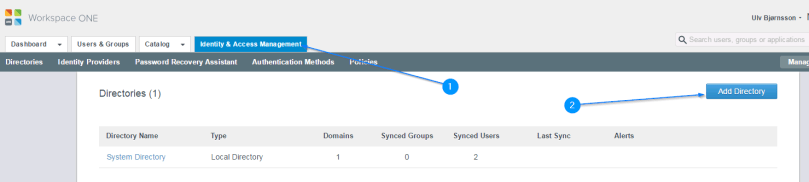
Next up is configuration. We’ll be adding directory, setting up policies and preparing our VMware Identity Manager tenant.
So first off log in to your VMware Identity Manager-tenant and choose “Add Directory” for this article we’ll be doing “Add Directory over LDAP/IWA“