Allow Domain User To Add Computer to Domain

In this guide we’ll go through the steps to allow a domain user, to add a computer to the domain. This can be nice in scenarios where some of the preparation for a PC is done by office staff, or if there are branch offices that need to re-join after resetting a PC and so-on.

An authenticated user, has by default the right to join up to 10 computers to the domain. After exceeding this limit the user will recieve an error message.

To get around this we can delegate the right to Create Computer Objects in Active Directory. This ensures that there is no restriction on number of computer objects that the user with this delegation right can add to the domain.

The best way of achieving this is by delegating control to a “Security Group” that we create in “Active Directory”

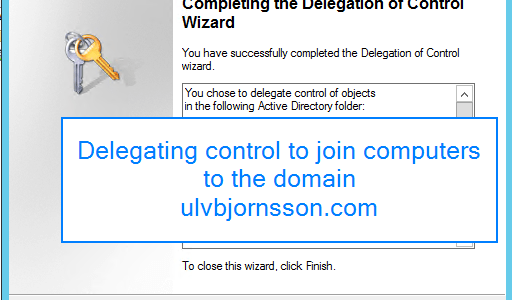
Delegating rights to User/Group with Active Directory Users and Computers

Continue reading “Allow Domain User To Add Computer to Domain”
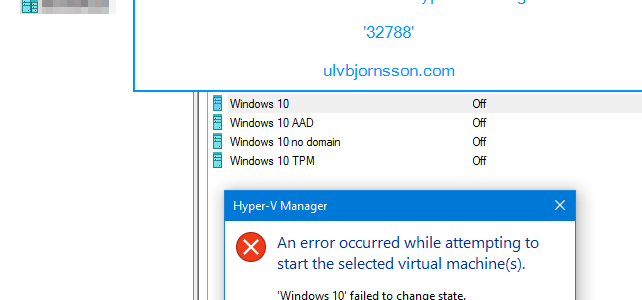
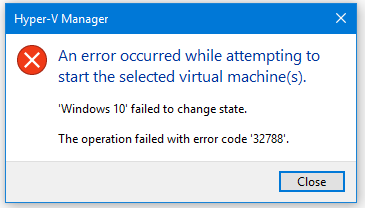
Hyper-V Manager: failed to change state. The operation failed with error code ‘32788’

Now you are likely here, because you are currently getting this error message: 32788.

2017-05-04_13-29-13.png

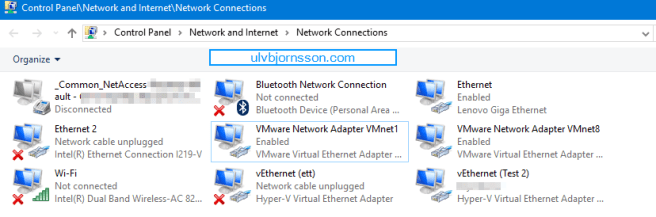
Most likely you’ve recently played around with your “Network Adapters

2017-05-04_13-23-02.png

or you’ve been in the “Virtual Switch Manager” and perhaps deleted a “Virtual Switch.

So to resolve it, quick and easy. You can do the following:

Continue reading “Hyper-V Manager: failed to change state. The operation failed with error code ‘32788’”

Installing VMware Identity Manager Connector

Hi again, and now we’ll go through how you install a VMware Identity Manager Connector.

First off with the prerequisites and some data you need to have to proceed through this guide:

You will need:

  • VMware Identity Manager-tenant
  • OVA-file (the VMware Identity Manager Connector software)
  • Set up a DNS record
  • Service Accounts: for binding to LDAP and domain joining the Connector
  • Connector activation code (which we gather from our VMware Identity Manager-tenant)

Continue reading “Installing VMware Identity Manager Connector”

Setting up AirWatch for Integration with Identity Manager: Part 2

Configure AirWatch settings in VMware Identity Manager to integrate AirWatch with VMware Identity Manager and enable the AirWatch feature integration options. The AirWatch API key and the certificate are added for VMware Identity Manager authorization with AirWatch.

Now if you are just jumping into this series, you need to know that you require to have this in place to complete the steps outlined here. If you haven’t you can check out Part 1.

  • AirWatch server URL that the admin uses to log in to the AirWatch admin console.
  • AirWatch admin API key that is used to make API requests from VMware Identity Manager to the AirWatch server to setup integration.
  • AirWatch certificate file used to make API calls and the certificate password. The certificate file must be in the .p12 file format.
  • AirWatch enrolled user API key.
  • AirWatch group ID for your tenant, which is the tenant identifier in AirWatch.


Continue reading “Setting up AirWatch for Integration with Identity Manager: Part 2”

Setting up AirWatch for Intergation with Identity Manager: Part 1

First off ensure you have this in place:

  • The organization group in AirWatch that you are configuring VMware Identity Manager is organization type: Customer.
  • REST API admin key for communication with VMware Identtiy Manager service and a REST enrolled user API key for AirWatch Cloud Connector password authentication are made at the same organization group where VMware Identity Manager is configured.
  • API Admin account settings and the admin auth certificate from AirWatch added to the AirWatch settings in the VMware Identity Manager admin console.
  • Active Directory user accounts set up at the asme organization group where  VMware Identity Manager is configured.
  • If end users are placed into a child organization group from where VMware Identity Manager is configured after registration and enrollment, User Group mapping in the AirWatch enrollment configuration must be used to filter users and their respective devices to the appropriate organization group.

You can find these in your AirWatch Admin console:

  • REST admin API key for communication: System -> Advanced -> API -> REST API
  • API Admin account for VMware Identity Manager and the admin auth certificate that is exported form AirWatch and added to the AirWatch settings in VMware Identity Manager.
  • REST enrolled user API key used for AirWatch Cloud Connector password authentication.


Continue reading “Setting up AirWatch for Intergation with Identity Manager: Part 1”

Integrating AirWatch with Active Directory

We are going to connect your AirWatch environment with your Active Directory. We will be using the Directory Services page to configure the settings that let you integrate your AirWatch server with your organization’s domain controller (the server hosting your directory services system).

The scenario outlined in this tutorial assumes that you already have the following items:

  • Active Directory
  • AirWatch

Continue reading “Integrating AirWatch with Active Directory”

Installing and configuring the AirWatch Cloud Connector


First we will install the AirWatch Cloud Connector (ACC) by enabling it in the AirWatch Admin Console and then we download and run the installer file onto the server that will host the service.

Installing the AirWatch Cloud Connector (ACC) includes the following tasks:

  • Enable the ACC in the AirWatch Admin Console
  • Generate the certificate that will be used for communication between the ACC and the AirWatch environment.
  • Configure the ACC with the services we will be using.
  • Download the ACC installer and install it.
  • Verify that the installation was successful, and that communications pass between the AirWatch SaaS to the ACC, and the ACC to the AirWatch SaaS.

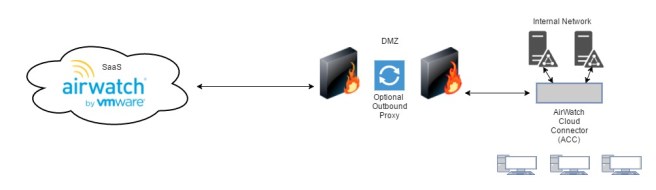
AirWatch Cloud (1).jpg

Continue reading “Installing and configuring the AirWatch Cloud Connector”